¶ CLI Tool & Password Generator
Many ways leading to Rome, we used to say. PVYvault offers you an easy and convinient way to generate new Passwords and also New Vault Items.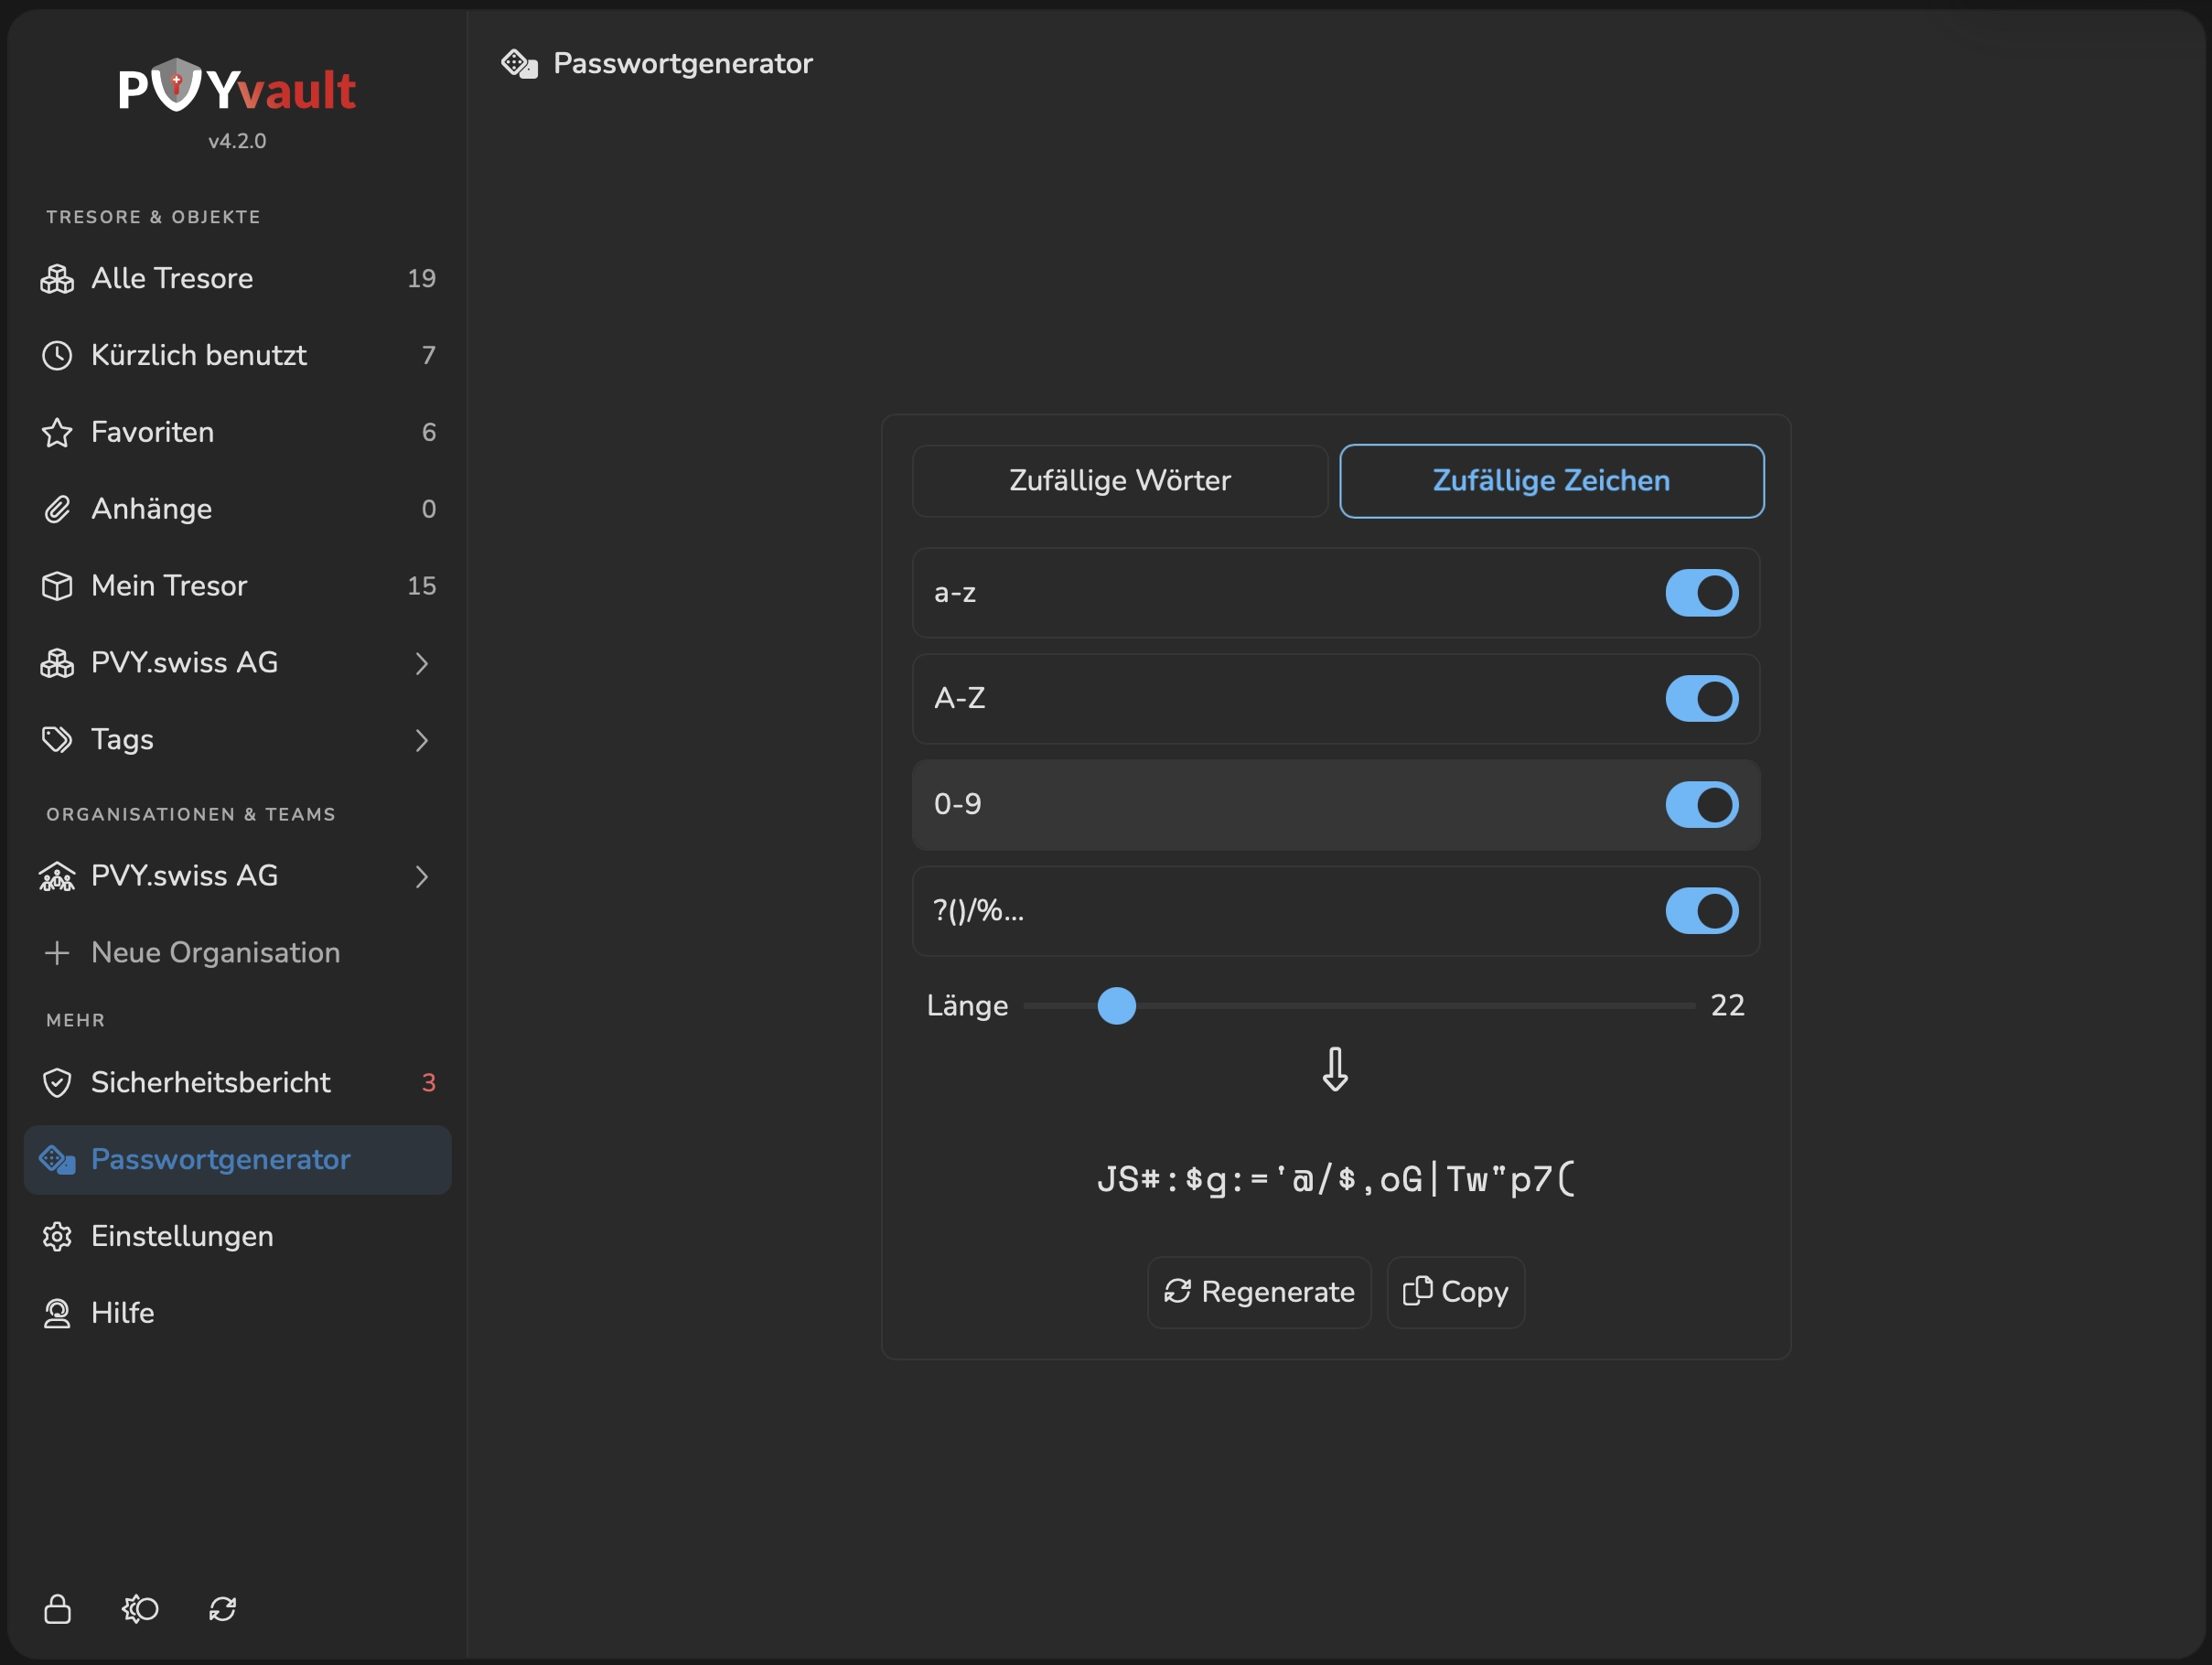
¶ Using PVYvault Browser Extension
When Browsing on a Website or Web Application, where you plan a new Signup, you can click on the PVYvault Browser Extension. When the Popup unfolds, hit the + Icon, and give a Name for this Vault Entry. When you head to the User Field, it shows you below the Field your most used usernames, which you can click to select. You only need to pay attention, if the signup form wants a username, email address, beside of a password, or all of them.
If you click into the URL Field, it offers you the Site URL you are actually on it. Click on it and maby shorten away the /signup so it will for sure work on the entire Domain.
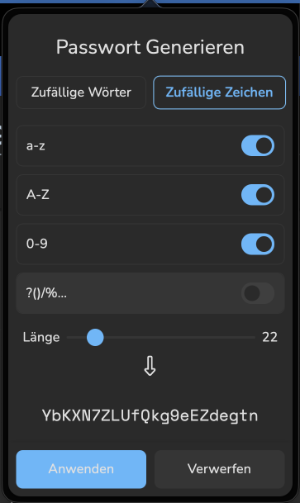
In the Password Field you can generate new entries, either using a 4 Word Phrase Generator or by Characters. Choose how you need or want it. Then hit save.
After this you can make on the Signup Form an URL Reload in the Browser and use the offered blue FillForm Button in the Browser Extension and complete your signup.
Following this flow, you benefit from secure passwords and speeding up your entire signup process.
¶ Using the Standalone Password Generator
If you are a Developer or DevOps Engineer, you may want to just to generate some Random Passwords for Development of an Application, such as for a Database Connection in a Docker/Podman or Kubernetes Environment. For such cases, you can use the Dedicated Password Generator you have access in the Menu Section “More” called Password Generator.
Don’t forgett to create an PVYvault Entry afterwards.
¶ PVYVault CLI Tool
The CLI Tool let Users to query, update or create new credentials using the Terminal/Console of their Choice, also straight on a Remote Location where you work on.
¶ PVYvault Login CLI Command
pvyvault login = https://yourPVYvaultURL
-u: = Username
-p: = MasterKey
Single Line Command
pvyvault login = https://yourPVYvaultURL -u: myEmailaddress -p myMasterKey
You can save this maybe in the PVYsnippet Manager, its a secure Way too.
¶ PVYvault Query Commands
You can query any existing PVYvaultItem using the command “search”
-n: = ItemName*
-t: = Tag
-v: = VaultName*
Results are being displayed in a Column View, by default sorted over the Vault Name, which you can browse using your Keyboard Arrows. If you have a matching entry you are looking for, press enter and stored Values are being presented to copy.
¶ PVYvault Create & Update Commands
You can create a new Vaults or VaultItems using following commands:
create -n:NewItemName
create -v:NewVaultName
assign -a:ExistingVaultID
update -edit:ExistingVaultItemID
update -edit:ExistingVaultID
¶ Field Values:
-username
-password
-url
-issuerurl (for API Tokens, so you know where to change/edit them)
-port
-apitoken
-apisecret
-dbuser
-dbpassword
-dburl
-dbport
-sshuser
-sshpassword
-sshpublickey
-sshprivatekey
Singe Line Example:
create -n:NewItemName -a:MyVaultID --sshuser:devops -sshpassword: "MySuperStrongPassword" or "GenPhrase4" or "GenCharacter22"
-
When using GenPhrase4 it will generate 4 Random Words with a - between
-
When using GenCharachter22 where 22 stands for Count, it will generate you a Password mixed with Upper-Lower Letters, Numbers and Special Characters.
-
When using GenCharachter22s where 22 stands for Count, it will generate you a Password mixed with Upper-Lower Letters, Numbers without Special Characters.
Please note, especially in YAML config files, a special character in the password can lead to an break. For such cases, you can use “GenCharachter22s” to be safe.
After each Create or Update Operation, the CLI Tool generates you the summary to verify, by selecting “OK” to confirm, it will be generated or updated.
¶ Password Length = Security
Please note, a Password Length of 22 mixed Characters is superstrong and secure against guessing or brutforce attacks. Below 18 Characters and without any WAF or Firewall or Auto Ban (fail2ban) mechanism, its a matter of time until an attacker can succeed over time.
¶ API
PVYvault sports based on the OpenAPI Scheme, a built-in API. The Full Documentation, which is searchable, with real code examples and and live Testing Tool is available only over your PVYcentral Console. However, to give you an Overview, the API is documented as Markdown too,